How to do it ? Watering can from a plastic bottle in detail

By The Crafter
Watering can from a plastic bottle
Plastic, plastic and a lot of plastic in and around our houses. In-stead of dumping it in the bin, let’s explore creative ways to reuse it. Today, we’ll repurpose a plastic bottle into a charming water can a delightful activity for kids. However, please remember to seek assistance from your parents, especially when using hot glue. Let’s get started:
Things you need:
- Plastic bottle (any size, I used a pet bottle which was in green colour
- Scissors
- Paper cutter
- Hot glue
- A marker
Directions:
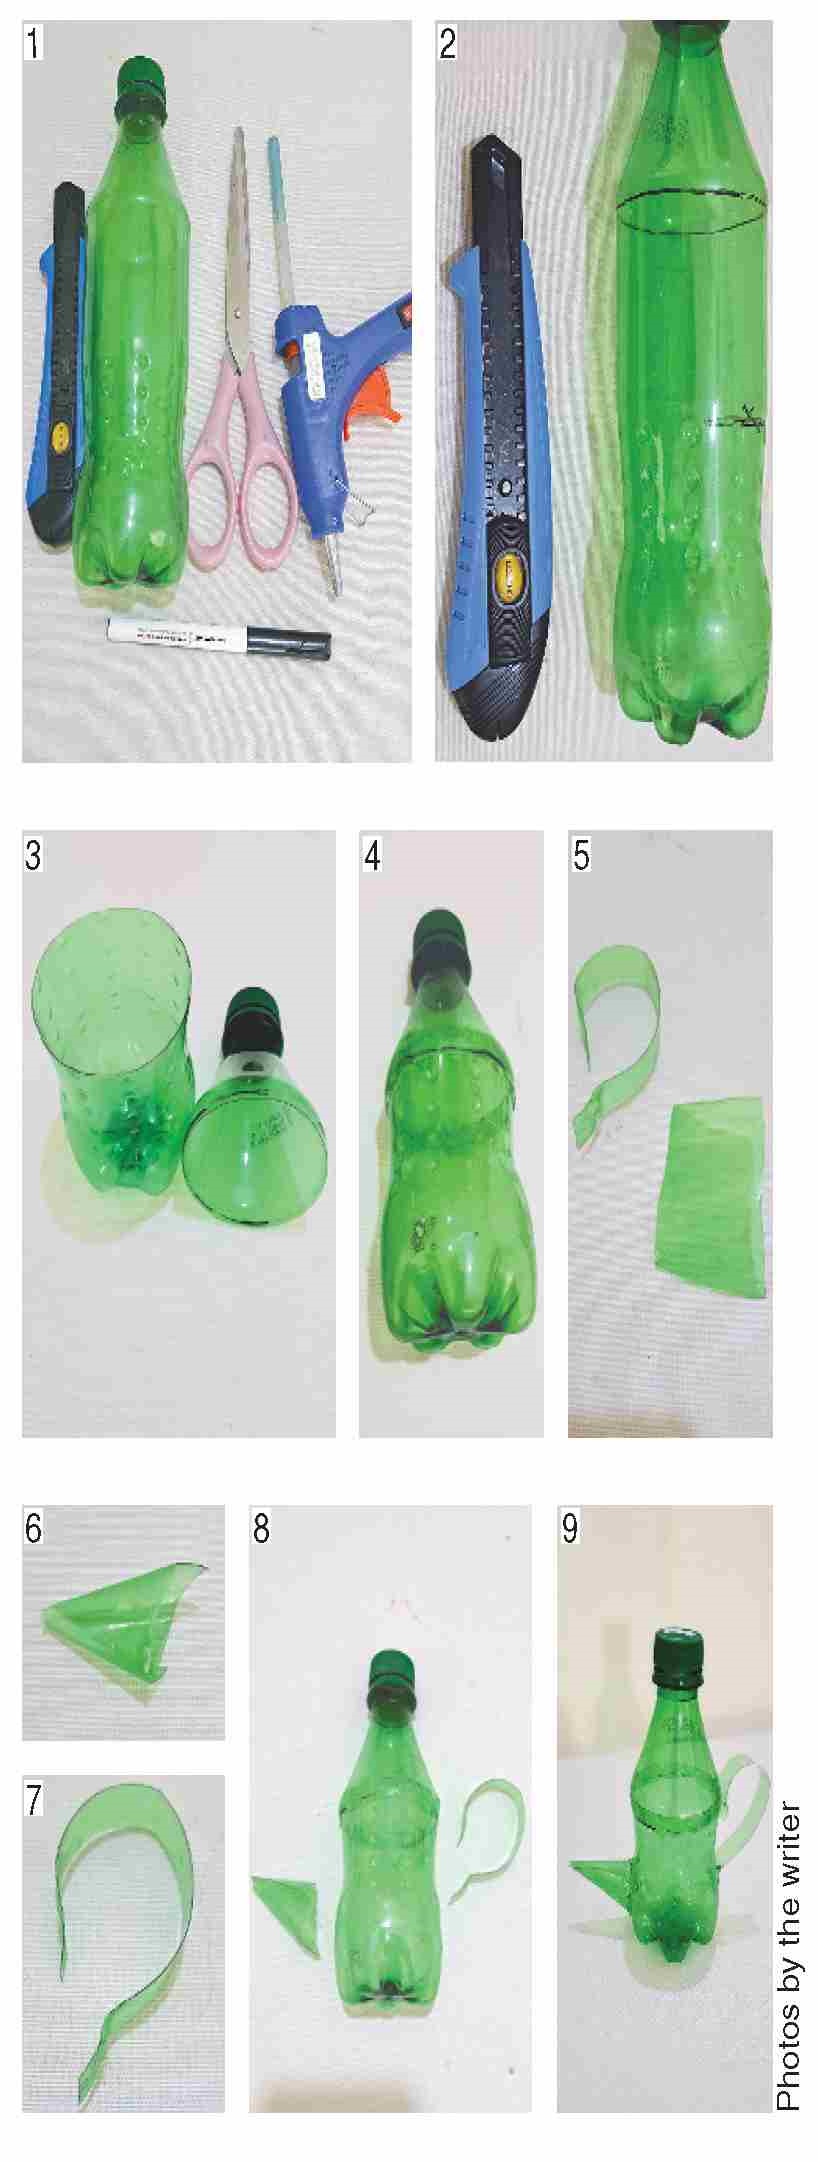
- Mark the bottle at the narrow, cone-shaped top and at the middle of the bottle, as shown in picture
- This will define the size of your watering can.
- With the help of a paper cutter and scissors, cut along the marked areas on the bottle, as shown in picture (take help from an elder)
- You will be left with a section of the bottle that is between the top and bottom parts of the bottle, don’t throw it, we will be using it for making the handle of the watering can and the funnel.
- Now join the top and the bottom part of the bottle with hot glue, also poke a few holes a bit above the bot-tom part of the bottle, picture 4.
- Take the remaining piece of the plastic bottle and cut a four-inch long strip that is one centimeter wide to create the handle. Also, cut a 1.S-inch wide and 2.5-inch long piece from the same piece of plastic to make the funnel; picture 5.
- Mold the plastic strip into the shape of a handle and the other into
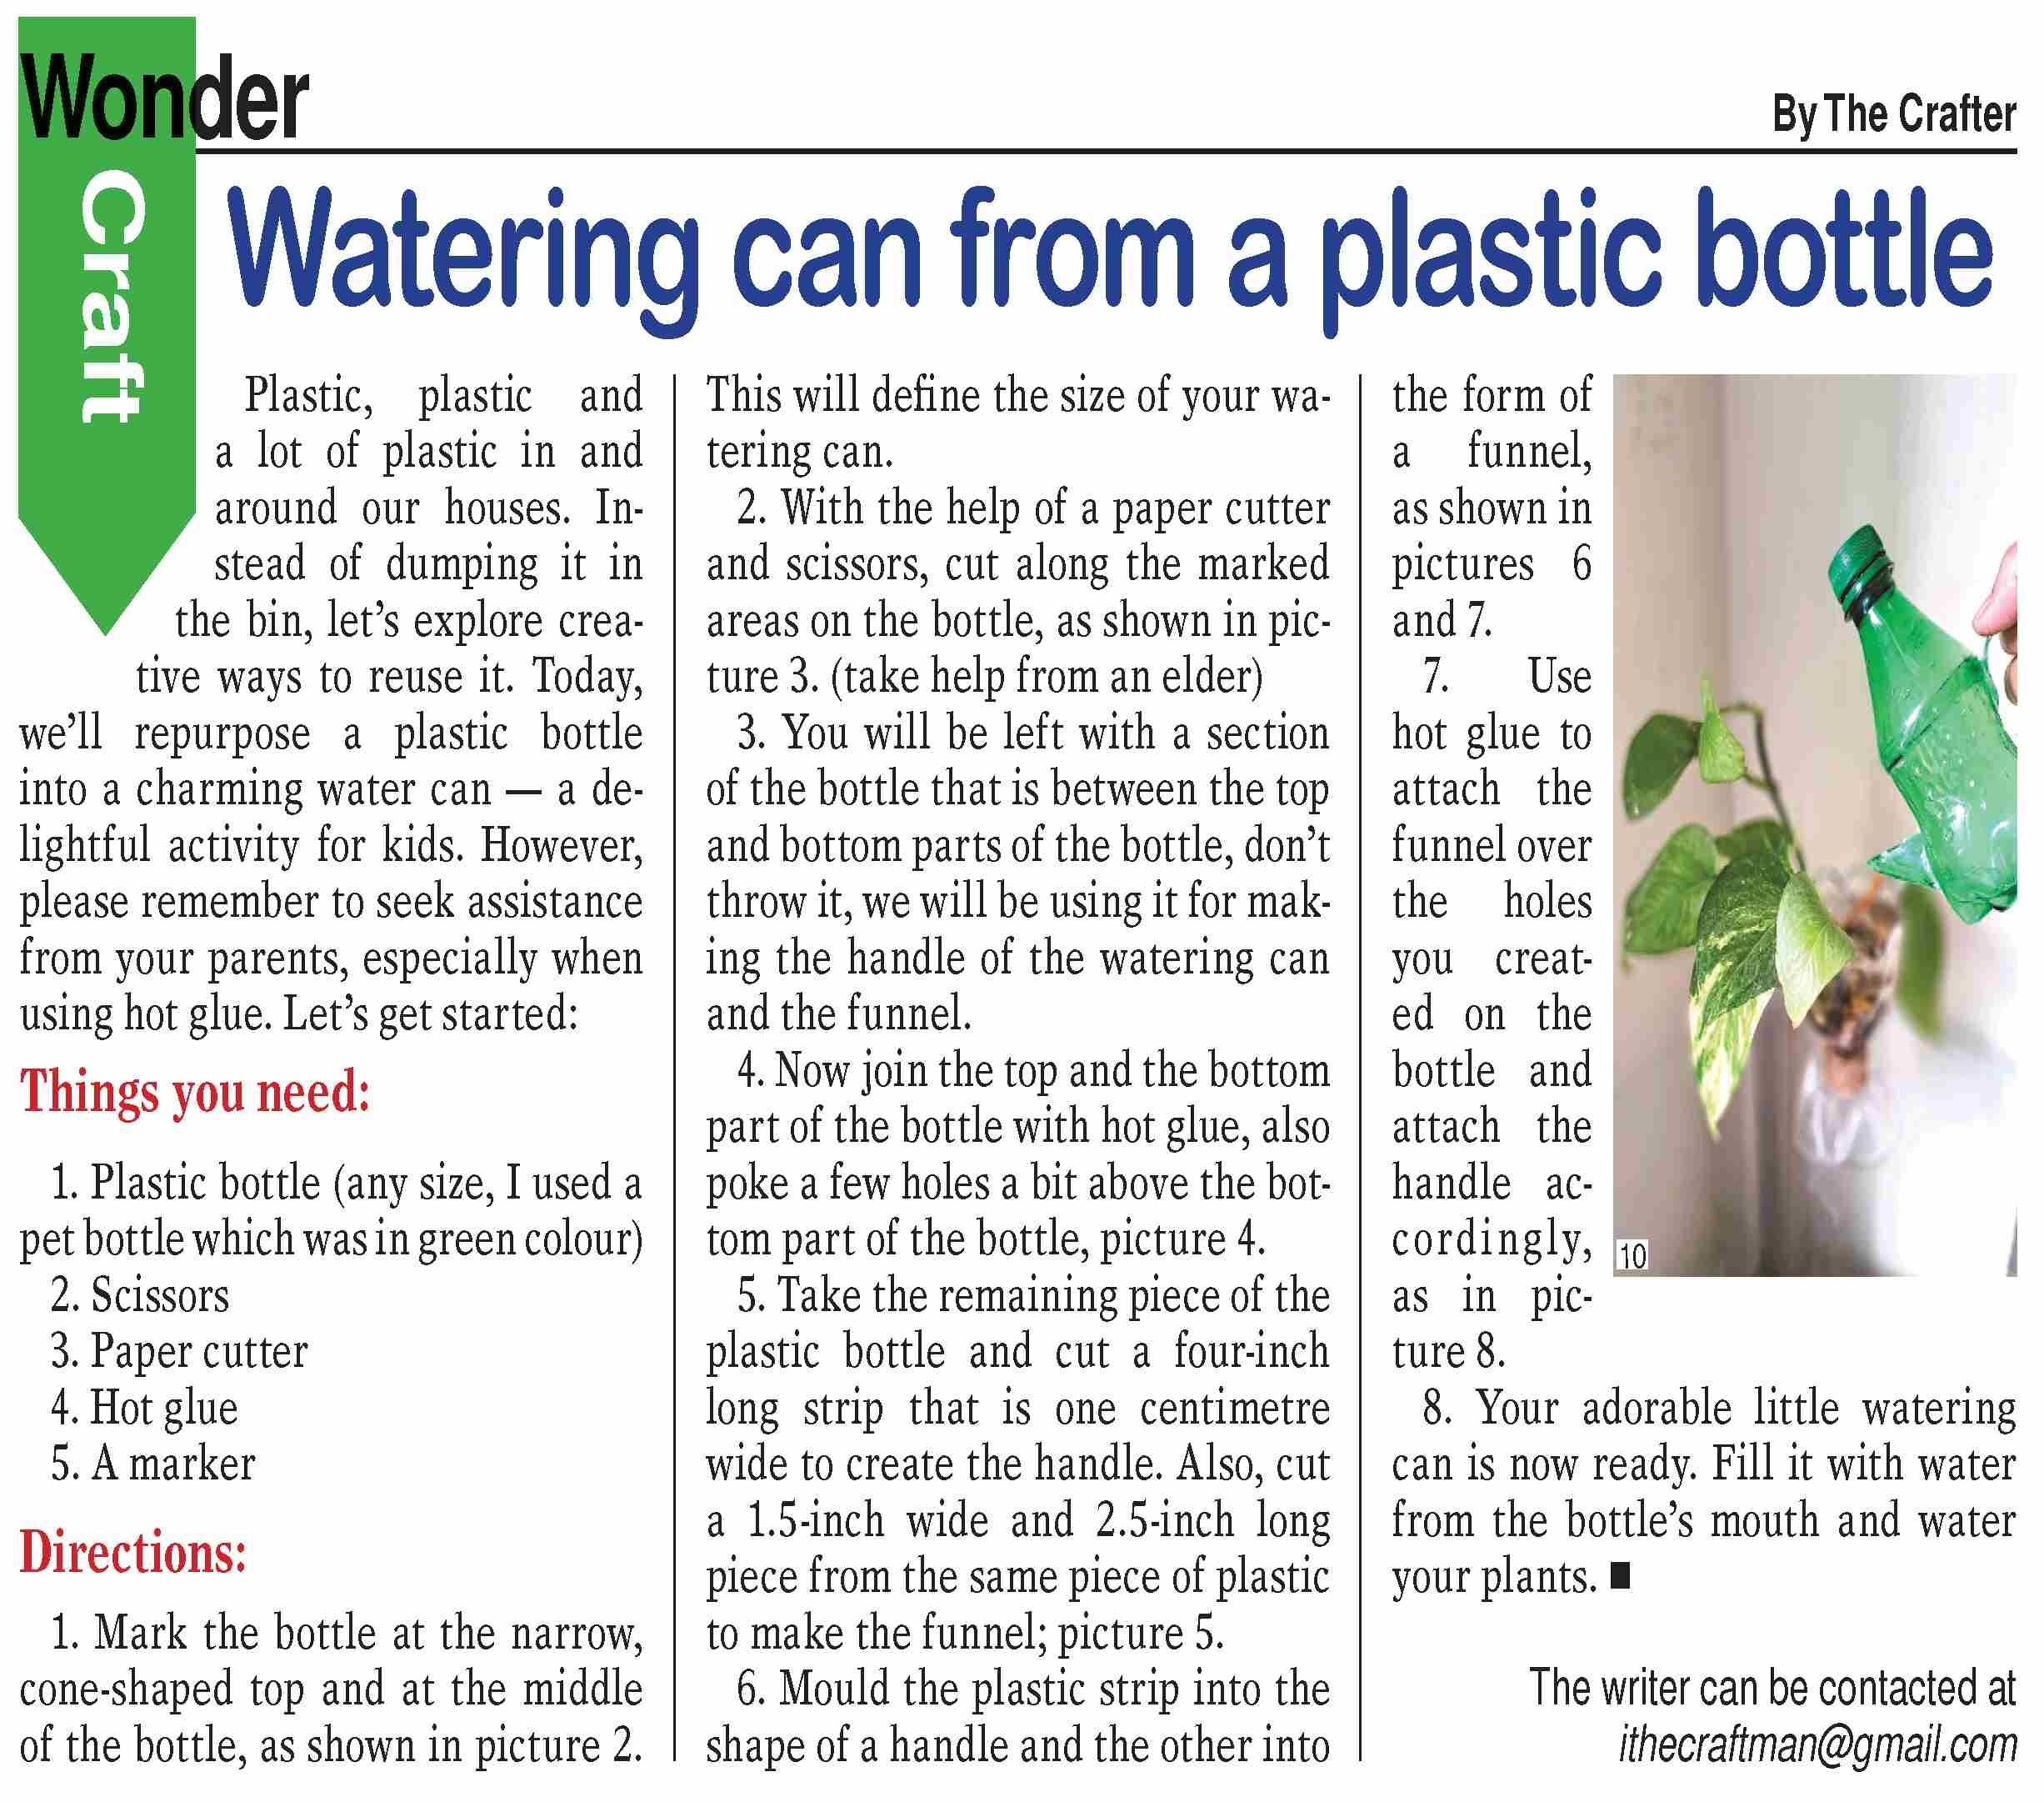
the form of a funnel, as shown in pictures 6 and 7. - Use hot glue to attach the funnel over the holes you created on the bottle and attach the handle accordingly, as in picture 8.
- Your adorable little watering can is now ready. Fill it with water from the bottle’s mouth and water your plants.


